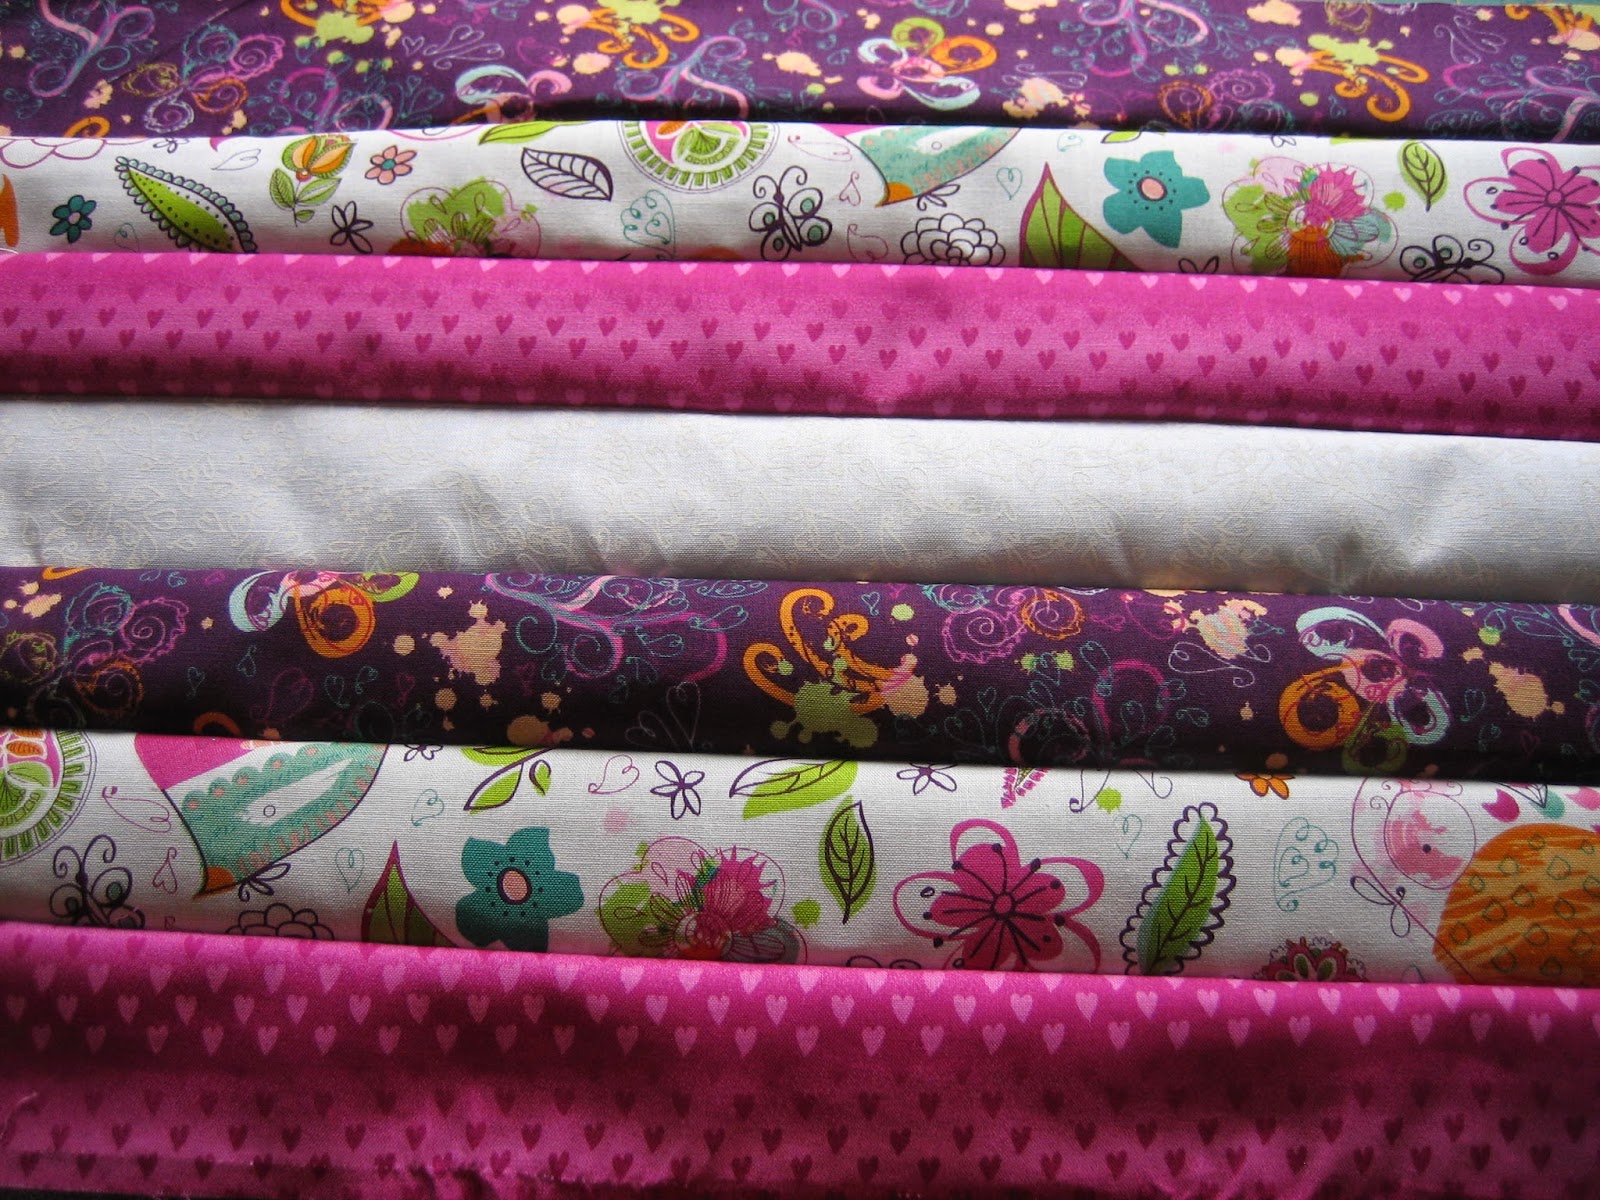
Today was the day I set aside to make a trial a bag for a Tote Bag Swap. Wanting to use some of my small (well if I am honest - very large) stash I came across a jelly roll of pre cut fabrics with 2 widths of 10 different coordinating fabrics.
As I didn't have a particular size in mind for this bag, I decided to make the body of the bag from 4 jelly roll strips and use an extra strip for the handles. You will also need something to line bag - go on ... look in your stash, and some ribbon (about a metre) to use on the handle.
(If you want to see the finished bag, scroll down to the bottom, otherwise you could sew along with me and see what happens.)
Cut each width of fabric in half. Lay the half strips in the order you are going to sew them. Be careful with one way designs - I had some upside down hearts. Oops.
With right sides facing, join the strips together, using a 1/4" seam. If you want a longer bag, add more strips. Mine has used 7 strips.
Square up your sewn section. I do this by folding it in half, right sides facing, making sure top and bottom edges line up. Pin side edge together. Using your cutting board as a guide, rule a stitching line 1/4" in from shortest side strip.
Machine side and bottom edges together. Trim seam allowance evenly and clip corner to remove seam bulk.
Turn bag right side out and press.
Now for the lining: I found some white with a pale mauve, pink, yellow check fabric in my stash and it is perfect for this lining.
Fold lining fabric so that right sides are together and selvedge edges meet. Place bag on top of lining fabric with bottom edge on fabric fold.
Draw a stitching line along each side of bag. (I sew just inside this line so that the lining is just smaller than the bag.) Cut out lining, leaving a 1/4" seam along each side. Press lining to crease bottom fold.
If you want a pocket inside your bag, make it now - it can be the full width of the bag or a patch pocket. Attach pocket to right side of bag lining.
Refold lining, right sides together and stitch one side seam. Stitch the top 7" and the bottom 2" of the other side, leaving a gap in the middle to turn bag later.
Place bag inside lining, so that the right sides of each fabric are together. Make sure that the bottom corners are fitting neatly and fabrics are flat. Pin bag to lining at top edge, 1/4" in from edge. Machine edges together.
Turn bag through hole left in lining.
Line edges of hole together and machine or hand stitch closed.
Push lining into bag so that bottom corners and top edges are sitting neatly. Machine around top edge to keep lining from popping out. Press well.
The Handles: one long handle or two shorter ones. I am going to do 2 shorter ones.
Take the remaining strip of fabric and cut in half. With right side facing down, press the raw edges in to the centre (you should now see right side of fabric only. Lay a piece of ribbon over the raw edges and machine strap along each side of ribbon. (I have found this to be a quick and easy strap method - no turning and scrunching.) Press well.
Turn raw edges under 1/2" at each end of straps. Position on each side of bag, taking care that straps end up opposite each other and the same length.
Machine in place by stitching a square.
CONGRATULATIONS .... you have finished your bag. My finished bag is 10" wide and 13.5" tall.
When are you going to use it? I've just decided that mine is going to carry the next Kina cardigan I started knitting last night. I know ... I was going to take a break from these, but I think I'm now obsessed with them and I'm using wool from my stash - always got to be a good thing to do!


Beautiful bag !
ReplyDeleteKäthe
Thanks Kathe. It is a quick and easy one to make
Delete