Wednesday, 20 May 2015

Making Tissue and Wipe Covers. Do your sewing projects multiply?

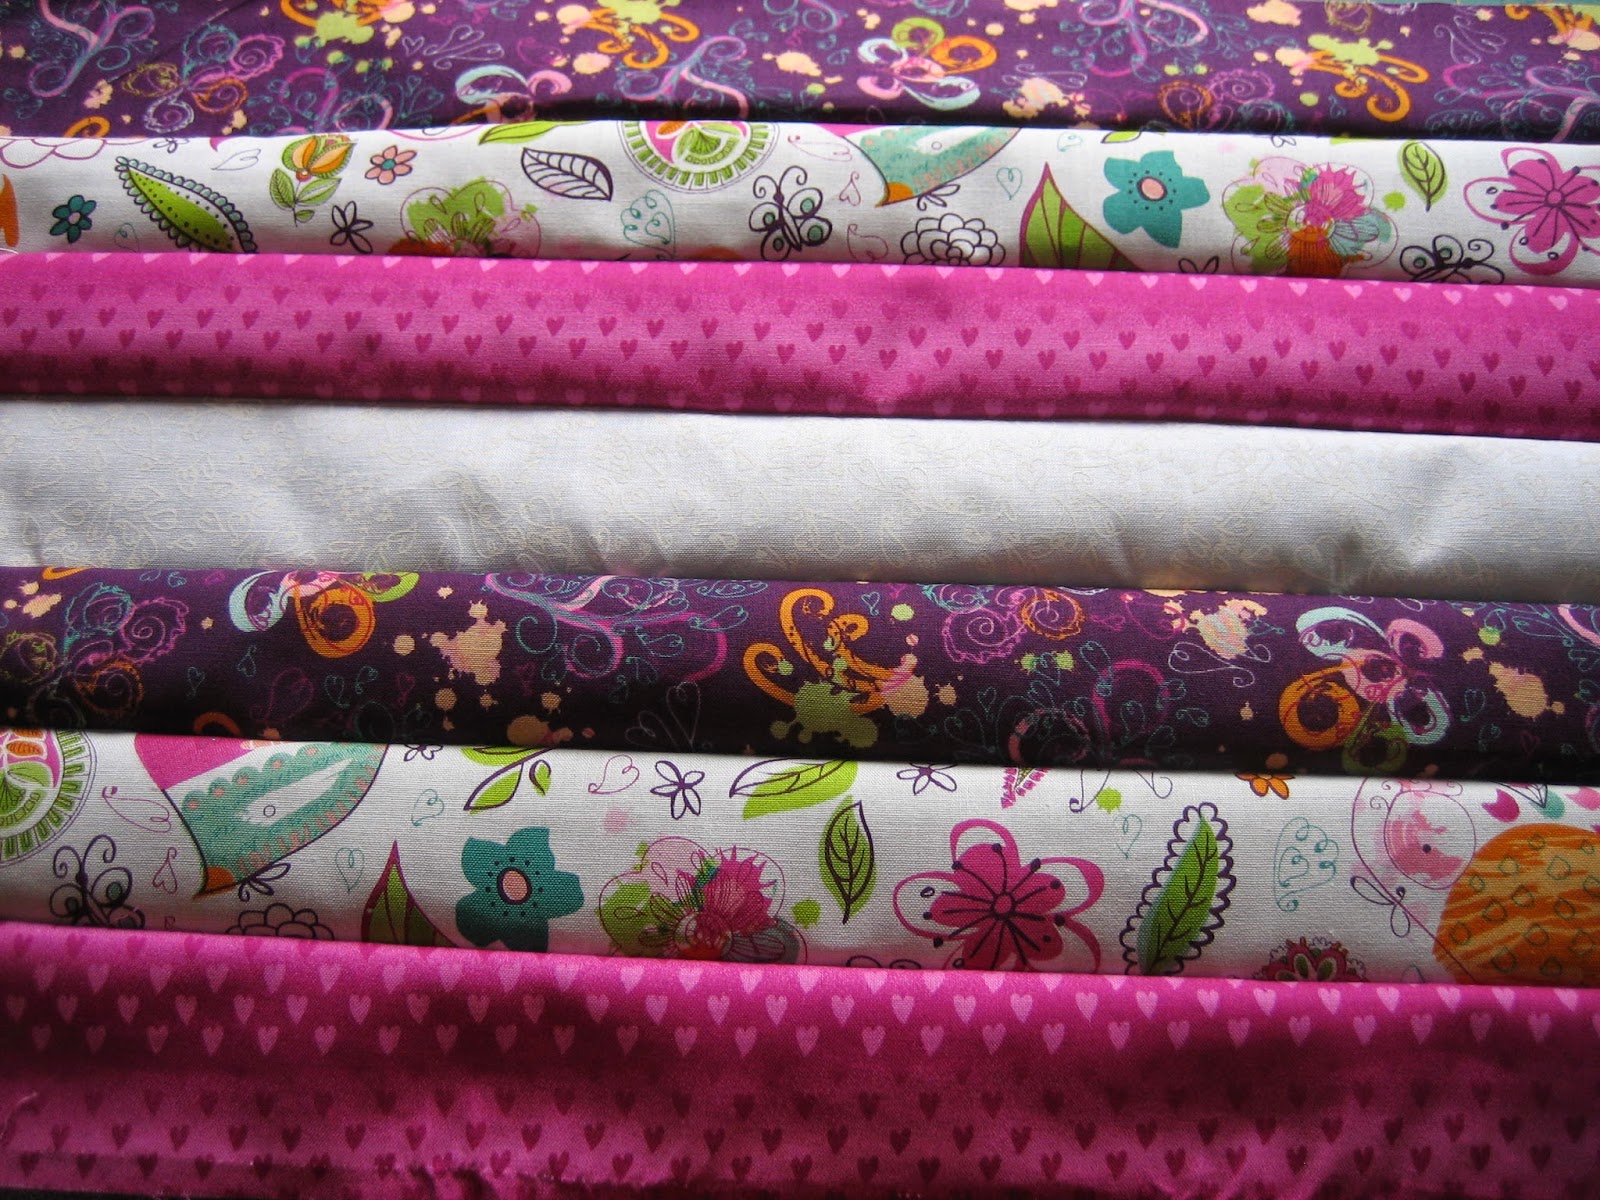
Making tissue pack covers is so easy!!!  I recently saw a post here that used this method to make covers for the small tissue packs we carry in our handbags. 

So I thought I'd give them a go.  Then came the idea to make covers for Wet Ones to go with them.  This would be a good 'Mothers' Day gift' for my daughter and daughters-in-law too.  I mean, doesn't every mother need both tissues and wet ones in her handbag?

Both are constructed the same way - I'll demonstrate what I did with the Wet One Pack.


Cut outer fabric and lining:

For the tissues, you need to cut the outer fabric 5 1/2" x 6 1/2" and the lining 5 1/2" x 7 1/2"

For the Wet Ones, the outer fabric is 5 1/2" x 7 1/2" and the lining is 5 1/2" x 8 1/2"


With right sides together, stitch one short edge - 1/4" seam.  Trim seam.


Repeat with other short end.  Note: you will have a 'bubble' on the lining side as it is longer.

Turn to right sides and press seams towards lining.  Smooth out extra lining fabric, making sure you have the same amount of lining showing on each end.


Machine in the ditch to keep lining 'Trim' in place.  Repeat at other end.


Fold finished edges into the centre, lining fabric on outside.


Stitch across each end with a 1/4" seam - I reversed at beginning, over centre edges and at the end for added strength.


Overlock or zigzag across raw edges.


Turn through to right side, making sure corners look square.   Press.


Fill with your Wet Ones (or tissues).  I folded the crimped edges of the Wet Ones under as I put them in, so that they were more snug.  Otherwise you would need to make the cover a little wider (6 1/2" not 5 1/2")


Well, after making my three sets for the girls, I just kept going, so now my sister and sister-in-laws and a niece and friends have received these packs... and there are another 10 sets ready to be filled with tissues and Wet Ones.

If you are using fat quarters, I think I got 7 out of each one.  Cut 5 1/2" strips then cross-cut into outer fabric sized pieces to suit either the tissues or the Wet Ones.  I used yardage for the lining, again cutting 5 1/2" strips and then cross-cutting appropriately.

Looking at the post linked above, I have noticed that the centre edges were overlapped slightly before sealing ends shut.  The corners were also boxed.  So I am sure there are many ways to make these covers.  In the past I have added lace at the shorter ends as a trim, omitting the need for the lining to be longer than the outer fabric.  

So why not have a go and tidy up your handbag with these easy to spot covers for your tissues and wipes.  And I'll be surprised if you can stop at one set!!!


Monday, 18 May 2015

Nothing beats Chicken Soup when you're fighting colds and flu...

I don't know about you, but my family all love Chicken Soup when they are sick.  I think it is the broth, with some 'good for you vegetables' and this soup adds tasty BBQ chicken too.

Making this soup is easy - all you have to do is chop vegetables and break apart BBQ chicken.  Once this is done it is all added to a big pot and 30mins later you have a tasty meal.

I made this one for my daughter Wen and her family last week:


(Thanks for the photo Wen)
Ingredients:
1 leek - cut off roots, then cut in half lengthwise and slice white section
2 carrots - peel and dice into 0.5cm (1/4") cubes (if they are bigger they will just need to cook longer)
3 sticks celery - trim ends and dice about same size as carrots
1 BBQ chicken - remove skin (and eat) and bones.  Break flesh apart into smallish pieces
60 grams (1/4 cup) butter or margarine
1/4 cup plain flour
2 chicken stock cubes - I use Massel brand
1.5 litres water - add more if soup gets too thick.

Method:
1.   Prepare chicken and vegetables.
2.   Heat butter in large pot.
3.  Add chopped vegetables and cook for 3 minutes, stirring to prevent them burning.
4.  Add stock cubes and flour.  Cook, stirring for 1 minute.
5.  Slowly add water, while stirring, and cook until soup thickens (a little) and comes to the boil.
6.  Add shredded chicken.
7.  Lower heat and cook for 20 minutes with the lid on the pan.  Stir occasionally so it doesn't stick to pan.
8.  Check seasoning levels - I don't add extra salt as stock can sometimes be salty.
9.  Serve as desired - we usually use large bowls!

Notes:
- If the soup is too thick, add extra water and reheat.
- If you prefer chicken broth, don't add the flour and reduce the butter to 1 Tabsp.
- If you want something with a bit more 'heat' try adding curry powder.

I love making soups.  They are pretty forgiving when it comes to measuring ingredients and cooking times.  So why not give this one a go!  I'm sure it will taste just as good as mine!


Friday, 1 May 2015

FRIDAY Night with FRIENDS

I joined the group FNwF organised by Cheryll this week.  I have wanted to finish a couple of projects that required some focus and no TV, so thought this would be a good way to get me into my sewing space for the night.

Over the last couple of months I have been knitting Kina cardigans for some of our family.  As I still had the urge to keep going, I raided my tiny (ha,ha,ha) stash of yarn and retrieved 10 balls of Caressa  from (quite) a few years ago.  As this top knits from the neck down, the Kina is a good project if you want to knit while not really concentrating on every stitch.  Care is needed when increasing soon after starting and when reaching the sleeve section (unless you want a cape), but otherwise you just knit.

My kina has travelled with me for the last couple of weeks in the bag I received from a recent swap through Sew n Swap (on Facebook)


The knitting part was finished, but I needed to sew the underarm seam and finish off all the joined yarn.  I realised that I have been spoiled by using 200g balls from Bendigo Woollen Mills (very few joins) recently - 50g balls meant lots of joins.  A button was added to the neckline and this was finished - yay!!! I knitted something, other than scarves, for myself.


Now for the next project to complete.

I have been making some Breast Cancer bags through Jody.  The bags are used to carry the drains after breast surgery (allowing patients to move about while wearing a drain).  I have done this before and love using cheerful fabrics to make this time a little brighter.  I made the bags this week, but they still needed pressing and having their cards (wishing love and positive thoughts to the recipient) added.


I have achieved this tonight too!  Now I can send these off to Jody this week.

I'm up to filling the heart now for the children's wards through 'Sew Handmade' (Facebook)


This has been a productive and very enjoyable evening.  I look forward to seeing what everyone else got up to too.

So until the next FNwF, enjoy doing the things that you love.


Tuesday, 14 April 2015

Do you enjoy making gifts for other people? Then SWAPS might be for you.

I love making things for other people to enjoy.  It can be anything from family meals and snacks to something I have crafted .... sewn, crocheted, knitted.  I get enjoyment from the making process and hopefully they get enjoyment in using or consuming the gift.

This month I saw a Facebook post asking for people to make 6" blocks to be used in a quilt for a girl about to have a bone marrow transplant.  Her mother thought she might benefit from knowing she was loved, by lots of people she didn't know, while undergoing her next treatment in her battle with cancer.  Now I could have said - 'Oh, what a nice idea' and left it at that.

But this Nanna has a purpose... to do more things that will show love to other people I come across, whether face to face or through the internet.


So out came the cotton from here and on Sunday evening I made 2 squares.  The pattern is the one I made up when making a mat for Noela for the Initial heart swap (I left out the initial as it wasn't an 'N') My squares came out just the right size too.


They went into the mail on Monday morning, with a get well card for the girl, and are now flying to the UK.  I wonder where the other squares will come from?  I hope I see an update for this project.

Another way to enjoy your craft is to join SWAPS.  This is where you make something, following a theme, and send it to the person you have been partnered with for that project.

I have been involved in a few of these now and am finding people who enjoy the things I enjoy all around the world.  

Last year's quilt involved sending blocks to people in the colour and design of their choice (from a selection given by the organiser).  I chose pinks and purples and this is my quilt (don't mind the pins - the handwork always takes a while to finish).


As this was an international swap, I backed it with fabric I purchased while visiting Singapore on a cruise last year.  This swap was organised through Jody, who is in the process of organising another one at the moment.  What will we be making and where will we be sending our blocks?

My recent SWAPS have been with aprons and Tote bags.  

The first apron swap was organised by Jenny and Wendy.  It entailed making and apron and sending it with a recipe to your swap partner.  My parcel arrived in Germany yesterday, so I could finally open the parcel which arrived here 2 weeks ago.

Käthe has made a beautiful full apron with 2 pockets.  I am going to love wearing it.


She also included a lovely hot mat and a recipe notebook with the recipe for Meatloaf - can't wait to finish translating it so that I can make one.


Kathe received from me a full apron, a knitted dishcloth and 2 recipes that I love making:
Apricot Squares and Banana Cake.


So, until the other apron and the Tote bag arrives, I'll be looking for things to do for others.  How about you?

Friday, 10 April 2015

Making a Bag is Fun.....

........ especially when you have a couple of hours to spare and no deadlines to meet!

Today was the day I set aside to make a trial a bag for a Tote Bag Swap.  Wanting to use some of my small (well if I am honest - very large) stash I came across a jelly roll of pre cut fabrics with 2 widths of 10 different coordinating fabrics.

As I didn't have a particular size in mind for this bag, I decided to make the body of the bag from 4 jelly roll strips and use an extra strip for the handles.  You will also need something to line bag - go on ... look in your stash, and some ribbon (about a metre) to use on the handle.

(If you want to see the finished bag, scroll down to the bottom, otherwise you could sew along with me and see what happens.)

Cut each width of fabric in half.  Lay the half strips in the order you are going to sew them. Be careful with one way designs - I had some upside down hearts.  Oops.


With right sides facing, join the strips together, using a 1/4" seam.  If you want a longer bag, add more strips.  Mine has used 7 strips.


Press the seams to one side.


Square up your sewn section.  I do this by folding it in half, right sides facing, making sure top and bottom edges line up.  Pin side edge together.  Using your cutting board as a guide, rule a stitching line 1/4" in from shortest side strip.


Machine side and bottom edges together.  Trim seam allowance evenly and clip corner to remove seam bulk.


Turn bag right side out and press.

Now for the lining:  I found some white with a pale mauve, pink, yellow check fabric in my stash and it is perfect for this lining.

Fold lining fabric so that right sides are together and selvedge edges meet.  Place bag on top of lining fabric with bottom edge on fabric fold.


Draw a stitching line along each side of bag.  (I sew just inside this line so that the lining is just smaller than the bag.)  Cut out lining, leaving a 1/4" seam along each side. Press lining to crease bottom fold.

If you want a pocket inside your bag, make it now - it can be the full width of the bag or a patch pocket.  Attach pocket to right side of bag lining.


Refold lining, right sides together and stitch one side seam.  Stitch the top 7" and the bottom 2" of the other side, leaving a gap in the middle to turn bag later.


Place bag inside lining, so that the right sides of each fabric are together.  Make sure that the bottom corners are fitting neatly and fabrics are flat.  Pin bag to lining at top edge, 1/4" in from edge.  Machine edges together.


Turn bag through hole left in lining.  


Line edges of hole together and machine or hand stitch closed.


Push lining into bag so that bottom corners and top edges are sitting neatly.  Machine around top edge to keep lining from popping out.  Press well.


The Handles: one long handle or two shorter ones.  I am going to do 2 shorter ones.
Take the remaining strip of fabric and cut in half.  With right side facing down, press the raw edges in to the centre (you should now see right side of fabric only.  Lay a piece of ribbon over the raw edges and machine strap along each side of ribbon. (I have found this to be a quick and easy strap method - no turning and scrunching.)  Press well.


Turn raw edges under 1/2" at each end of straps.  Position on each side of bag, taking care that straps end up opposite each other and the same length.


Machine in place by stitching a square.


CONGRATULATIONS .... you have finished your bag.  My finished bag is 10" wide and 13.5" tall.

When are you going to use it?  I've just decided that mine is going to carry the next Kina cardigan I started knitting last night.  I know ... I was going to take a break from these, but I think I'm now obsessed with them and I'm using wool from my stash - always got to be a good thing to do!


Wednesday, 8 April 2015

The Kina's are made...

Over the last couple of months I have been knitting Kina cardigans.  We have liked them for quite a while, thanks to posts by Corrie.  So now to show you the six I have just finished:

I started with ones for dolls - white (forgot to take a photo of this one), green and red.


Then moved on to Miss 3's pale green one.


Next was Miss 7's lilac one.


And now their mummy Wen has one too.


The yarns came from bendigowoollenmills.  This is now my favourite site for yarn purchases. The girls's Cotton (Honeydew and Hollyhock) and Wen's Luxury (Purple Storm) were easy to purchase online,  were delivered to the door and were all lovely to knit with.

This Kina pattern is available through ravelry.  The doll and adult ones are free downloads, but the children's one has to be purchased.  There is a baby version too, but we had outgrown it in my family.

I can see myself having more of these underway in the future - I'm even thinking I may make one for myself!  And I've only got scarves over the past few years.  The knits are usually for the younger members of our extended family.

Now on to some sewing, before Mister 1 1/2 gets some more winter knits.


Friday, 3 April 2015

What happened to March?

My how the months are flying by this year!

I guess March went quickly because we were away for 2 weeks.  We cruised with Princess from Sydney to New Zealand - through the Fiordland National Park, Dunedin, Napier, Wellington, Tauranga and Auckland.  On this trip we missed the Bay of Islands due to Cyclone Pamela's attack coming through the area.  The seas were a bit rougher than we often experience, but as long as you come to lower decks in the centre of the ship you cope pretty well.


Cruising gives me plenty of time for craft, and this journey was no different.  I made another Kina - this time in a size 8, again using Bendigo Woollen Mills 8-ply Cotton:


The Cabbage Patch dolls also received more clothing:


A Spring Fling Fabric Swap was organised by the Facebook Group Sew n Swap.  I took the fabric with me (so I could add a little New Zealand fabric to it) but didn't get it in the mail until we got back to Sydney.  This time the postal services were very quick - under 2 weeks to and from Arizona.

I sent Australiana fabrics to Jan,


and received some very pretty fabrics from Jan - with a note that the fat quarters are for me and the other fabrics for my granddaughters.  How spoilt am I!!!


March was also the time for 2 Apron Swaps.  One was run through Sew n Swap, but organised by Melanie from Mule Time Quilts, and the other through Jenny from elephantz.  My aprons were made and sent (only just in March - 31st) and I will show pictures when they reach their destinations (Germany and USA) and I receive mine.

So what am I doing in April?  So far I will be making the 3rd Kina - this time in an adult size, 

making a bag for a Tote Bag Swap - to go to Western Australia, and starting a bit more warm grandchild knitting now that the weather is starting to turn colder.

Oh, and I'd like to finish a few UFO from the last few months too.

Should be a lazy month, don't you think?